In the firs part of this post I listed options for implementing real-time web functionalities in ASP.Net MVC. In this section, we will implement the same application using the SignalR.
What is SignalR - from their website
SignalR will use WebSockets under the covers when it’s available, and gracefully fallback to other techniques and technologies when it isn’t, while your application code stays the same.
The OS-level support for WebSocket was introduced only in Windows Server 2012/Windows 8. So because these are not widely adopted platforms yet, we are stuck with the graceful fallback.
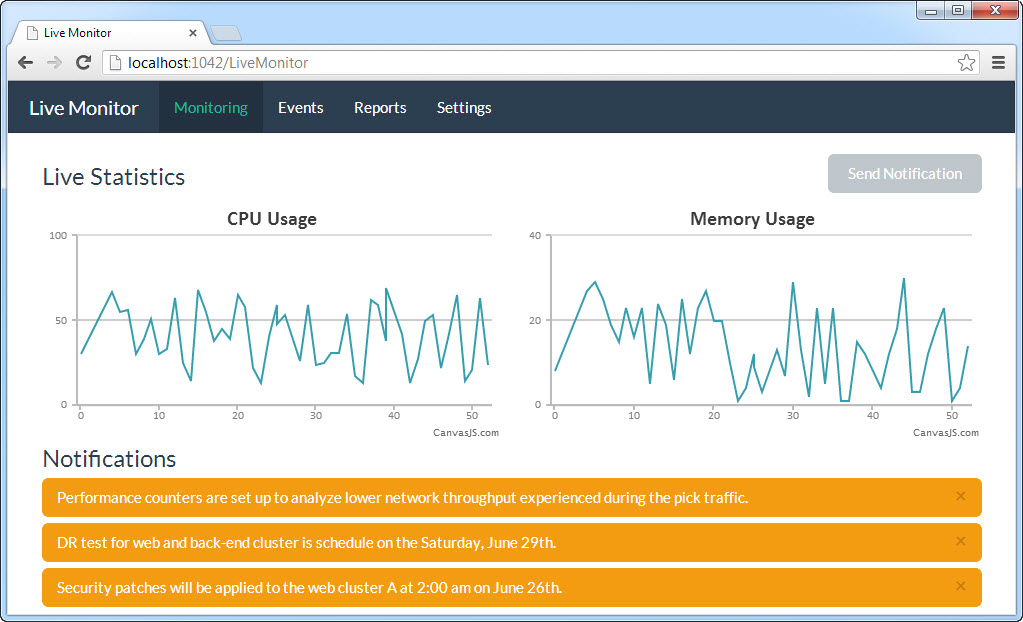
We will be using the same fictitious scenario used in first part of the post. This web application needs to show the real-time chart of server’s CPU and memory usage statistics. It also lets the user send real-time notifications to all logged in users. Random CPU and memory usage updates are published from a console application every 1.5 seconds.
SignalR abstracts the complexity of real-time communication and let you work with simple classes and even generates the JavaScript code to be used on the client side.
Setup the SignalR
Go to the NuGet package manager console or the UI and install the Microsoft ASP.Net SignalR package. It will add three assemblies and a JavaScript file containing the client-side component.
Let’s add the scripts needed on the client side to our page. SignalR client side component uses jQuery, so include it followed by the SignalR script itself. The third script /signalr/hubs would include the auto-generated client side proxies. Go to http://yourdomain/signalr/hubs to see the dynamically generated client-side proxy once you have created the hub in the next step. If you are curious and want to see how the script is being created for your hubs, look at the Microsoft.AspNet.SignalR.Hubs.DefaultJavaScriptProxyGenerator implementation.
<script src="http://code.jquery.com/jquery-2.0.0.js"></script>
<script src="~/Scripts/jquery.signalR-1.1.2.js"></script>
<script src="~/signalr/hubs"></script>
Now, we need to expose the URL that our client proxy could connect to. SignalR provides a helper for that, add RouteTable.Routes.MapHubs(); in the Global.asax.cs in Application_Start. This call needs to be made before registering other routes. Default route used by SignalR is http://yourdomain/signalr.
Let’s Create a Hub
‘Hub’ as it sounds, is going to act as receiver and publisher of the messages. Add a folder named ‘Hubs’ and create a class inheriting from Microsoft.AspNet.SignalR.Hub. We will be using this hub for broadcasting the notifications, so I named it as NotificationHub, this is the name client side will be using for publishing or subscribing to this specific hub. Clients gives a handle to all the browser instances listening for the updates. The method showNotification is a dynamic expression, so you could name it whatever you like. This is the name client side needs to use for receiving updates through the client-side proxy(more on that later).
public class NotificationHub: Hub
{
	//This method could be invoked from the client side through the proxy to publish the messages directly.
	//However, in our case, we chose to do it from the controller instead, so server could perform any additional tasks
	public void Send(string message)
	{
		Clients.All.showNotification(message);
	}
}
Publish the Notifications
In our sample application, a user could click on ‘Send Notification’ to send the real-time message to all the current users. We could publish messages directly from the client side using the proxy, which would invoke the Send method of our NotificationHub, which in turn would call showNotification on all the clients. In most real-world applications, you might have to perform additional tasks like store the notification message in the database, so we would like to publish it from the server side instead. Following is the Send action in the NotificationController. This action will be invoked through regular ajax call. We need to get the instance of the HubContext by using the GetHubContext method. If you try creating the instance of the hub by calling ‘new’, it will result into runtime exception when you try publishing to it. You could call the operation with data to be passed to the client. As mentioned earlier, the name of the operation(which is a dynamic expression) is important, as that is what client side needs to refer to.
public JsonResult Send(string message)
{
	//You need to create instance using the GlobalHost, creating a direct instance of your hub would result in to runtime exception
	IHubContext hubContext = GlobalHost.ConnectionManager.GetHubContext<NotificationHub>();
	hubContext.Clients.All.showNotification(message);

    return Json(new { message = "Sent the notification." }, JsonRequestBehavior.AllowGet);
}
Broadcast CPU and Memory Usage
We will be using a console application to send the random data about the CPU and Memory usage continuously. Client side would use the data to show the real-time chart to users. Console application needs to self-host the endpoint for letting clients connect, so we need to use the SignalR’s self-hosting package. Execute Install-Package Microsoft.AspNet.SignalR.SelfHost -pre from the package manager console to get the assembly.
Enable Cross Domain Access
The web application would have to connect to a domain other than the one it is hosted on, so we need to enable the cross domain access. Create a class called Startup which will configure the cross domain access and map the hubs.
class Startup
{
    public void Configuration(IAppBuilder app)
    {
        //Turn on the cross domain access
        var config = new HubConfiguration { EnableCrossDomain = true };
		app.MapHubs(config);
	}
}
Create StatsHub
Following is the hub, I am calling it StatsHub as it will be publishing the statistics.
public class StatsHub:Hub
{
	//In our case, this method is not being used as we are publishing the messages from the server side itself
	public void Send(int time, int cpu, int memory)
	{
		Clients.All.updateStats(new { time = time, cpu = cpu, memory = memory});
	}
}
Broadcaster is a helper class that would send CPU and memory usage updates every 1.5 seconds using a timer.
public static class Broadcaster
{
    private static int counter = 1;
    private static Random cpuRandom;
    private static Random memoryRandom;
	private static IHubContext hubContext;

    public static void Start()
    {
        cpuRandom = new Random(30);
        memoryRandom = new Random(6);

		//You need to create instance using the GlobalHost, creating a direct instance of your hub would result in to runtime exception
		hubContext = GlobalHost.ConnectionManager.GetHubContext<StatsHub>();
		new Timer(BroadcastStats, null, 1500, 1500);
    }

    private static void BroadcastStats(object state)
    {
		hubContext.Clients.All.updateStats(new { time = counter, cpu = cpuRandom.Next(10, 70), memory = memoryRandom .Next(1,32)});

        counter++;
        Console.WriteLine(String.Format("Broadcasted..."));
    }
}
Start the Server
Following is the Main method of our console application which will host the endpoint at http://localhost:8080.
static void Main(string[] args)
{
	string url = "http://localhost:8080";

	using(WebApp.Start<Startup>(url))
	{
		Console.WriteLine("Server is ready to take connections on " + url);
		Broadcaster.Start();
		Console.ReadLine();
	}
}
Wire Up the Client Side
We need to setup two proxies on the client side - one will listen for the notifications from the NotificationHub and the second one will be listening to the StatsHub.
We will be using the auto-generated proxy for the NotificationHub. You could see how the hub name and the method name defined on the server side are being referenced. The showNotification function would receive the data being sent, it just pushes message to the screen. $.connection.hub.start(); is going to open the connection to the server.
var notificaiton = $.connection.notificationHub;
notificaiton.client.showNotification = function (message) {
$('#notifications').prepend("<div class=alert><button type=button class=close data-dismiss=alert>×</ button>" + message + "</div>");
};
$.connection.hub.start();
Setup for the StatsHub is slightly different as we are not using the auto-generated proxy. Also, we need to specify the URL as it is not on the same domain as our web application. Function to handle the messages from the server is wired to the ‘updateStats’, in a slightly different way than the auto-generated proxy. We need to update the charts when the server sends the update, so I am calling updateCPUChart and updateMemoryChart methods passing the stats.
var connection = $.hubConnection("http://localhost:8080");
var hubProxy = connection.createHubProxy('statsHub');
hubProxy.on('updateStats', function (data) {
	updateCPUChart(data);
	updateMemoryChart(data);
    });

connection.start();
That’s pretty much all we need to see our application in action. Start the console app and have the application running in the multiple windows to see how the messages are beings shown and charts being updated real-time.
Code for the ASP.Net MVC app could be found at https://github.com/patelsan/LiveMonitor-SignalR and code for the console app is at https://github.com/patelsan/LiveBroadcaster-SignalR. As usual, I would like to hear your thoughts.